How to make a mirror stereoscope
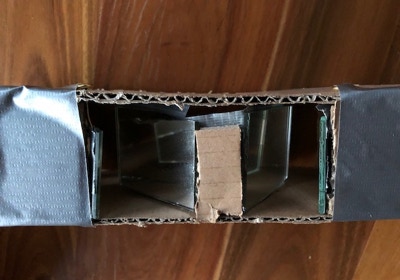
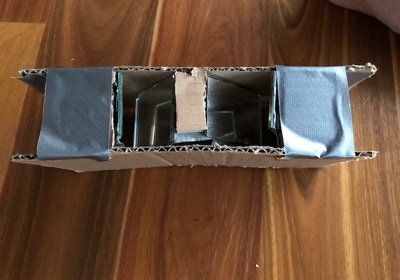
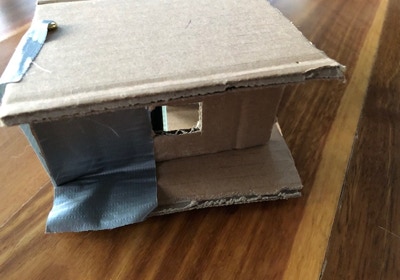
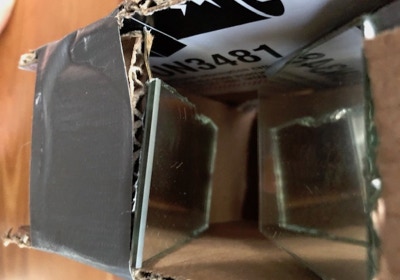
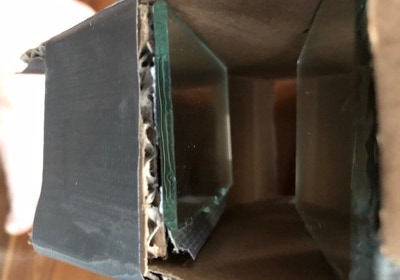
We set our thirteen year old the task of making a mirror stereoscope from the cheapest materials possible. He used a mirror tile from the local hardware store and cut it into smaller pieces (link to a safe technique here: https://www.youtube.com/watch?v=uniR7W9U5gM). Below are images of his final product and instructions on building it. The two inner mirrors are fixed position and the two outer mirrors need to be adjustable. In this design the outer mirrors are moved with your fingers through the holes in the sides.
Remember that you want your mirrors to be vertical to maximise image quality (because minimising aberrations makes the stereo effect work better) and so stiff cardboard and careful mirror placement during taping are recommended. Also front surface reflecting mirrors produce better quality images if you can get them.

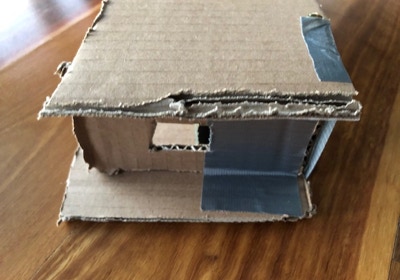

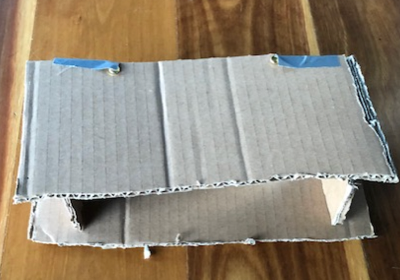
1 Cut out two pieces of cardboard 25 cm long and 12cm wide.
2 Tape two mirrors upright in the middle of one piece of cardboard at a 45 degree angle 2 cm apart at the edge of the cardboard.
3 Make two holes 4cm from each mirror put long split pins though from the bottom.
4 Place mirrors behind split pins and tape ( make sure the reflective side has no tape on it.)
5 Make holes in the same place in the other piece of cardboard place other piece of cardboard on top of the mirrors and tape the split pins to the mirrors (again make sure you haven't gotten any tape on reflective sides of mirrors.)
6 Tape first mirrors to second piece of cardboard so that they are straight upright. Cut out two pieces of cardboard 11cm long an 6cm wide cut 2.5 cm long 2 cm wide holes in the middle of each piece.
7 Place these new pieces of cardboard so that you can hold the edge of the other cardboard and move the mirrors on the edge through the holes in the side.